Hager | witty park 2 - Configuration for ChargePilot

Modified on Fri, 22 May at 8:24 AM

Before starting the configuration, please check the charger firmware version complies with the latest compatible firmware version.


Connection to the charger

Local connection


Connect to the charger web page via local network

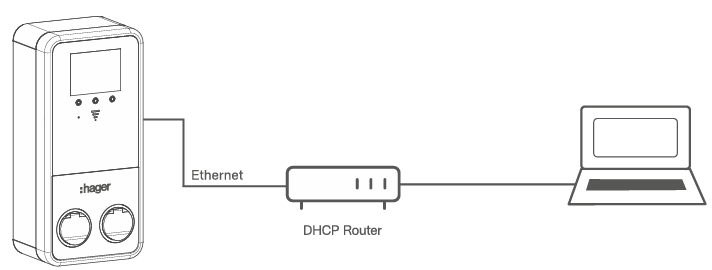
  1. Connect your Ethernet cable to the router which is also connected to the charger and the DHCP server

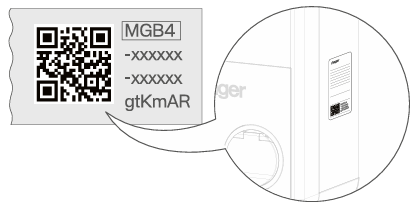
  2. Open your web browser and type in the IP-address: hager-evcs-xxxxxx.local (xxxxxx refers to the last six digits of charger serial number, in the screenshot is gtKmAR as example)


Connect to the charger web interface via charger Wi-Fi

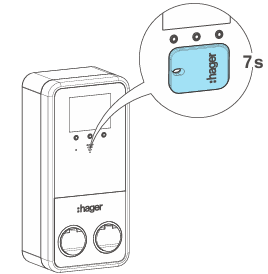
  1. Place the Hager RFID card infront of the RFID reader for >7 sec

  2. Connect to the Wi-Fi network name: witty-xxxxxx (xxxxxx refers to the last six digits  of charger serial number,  in the screenshot is gtKmAR as example). Password is not required

  3. Open your web browser and type in the IP-address: 192.168.3.5 or hager.local


Login Data:
Username: admin
PW: The first four digits of charger serial number, in the screenshot is MGB4 as example

Connection via router


Activating theWi-Fi hotspot

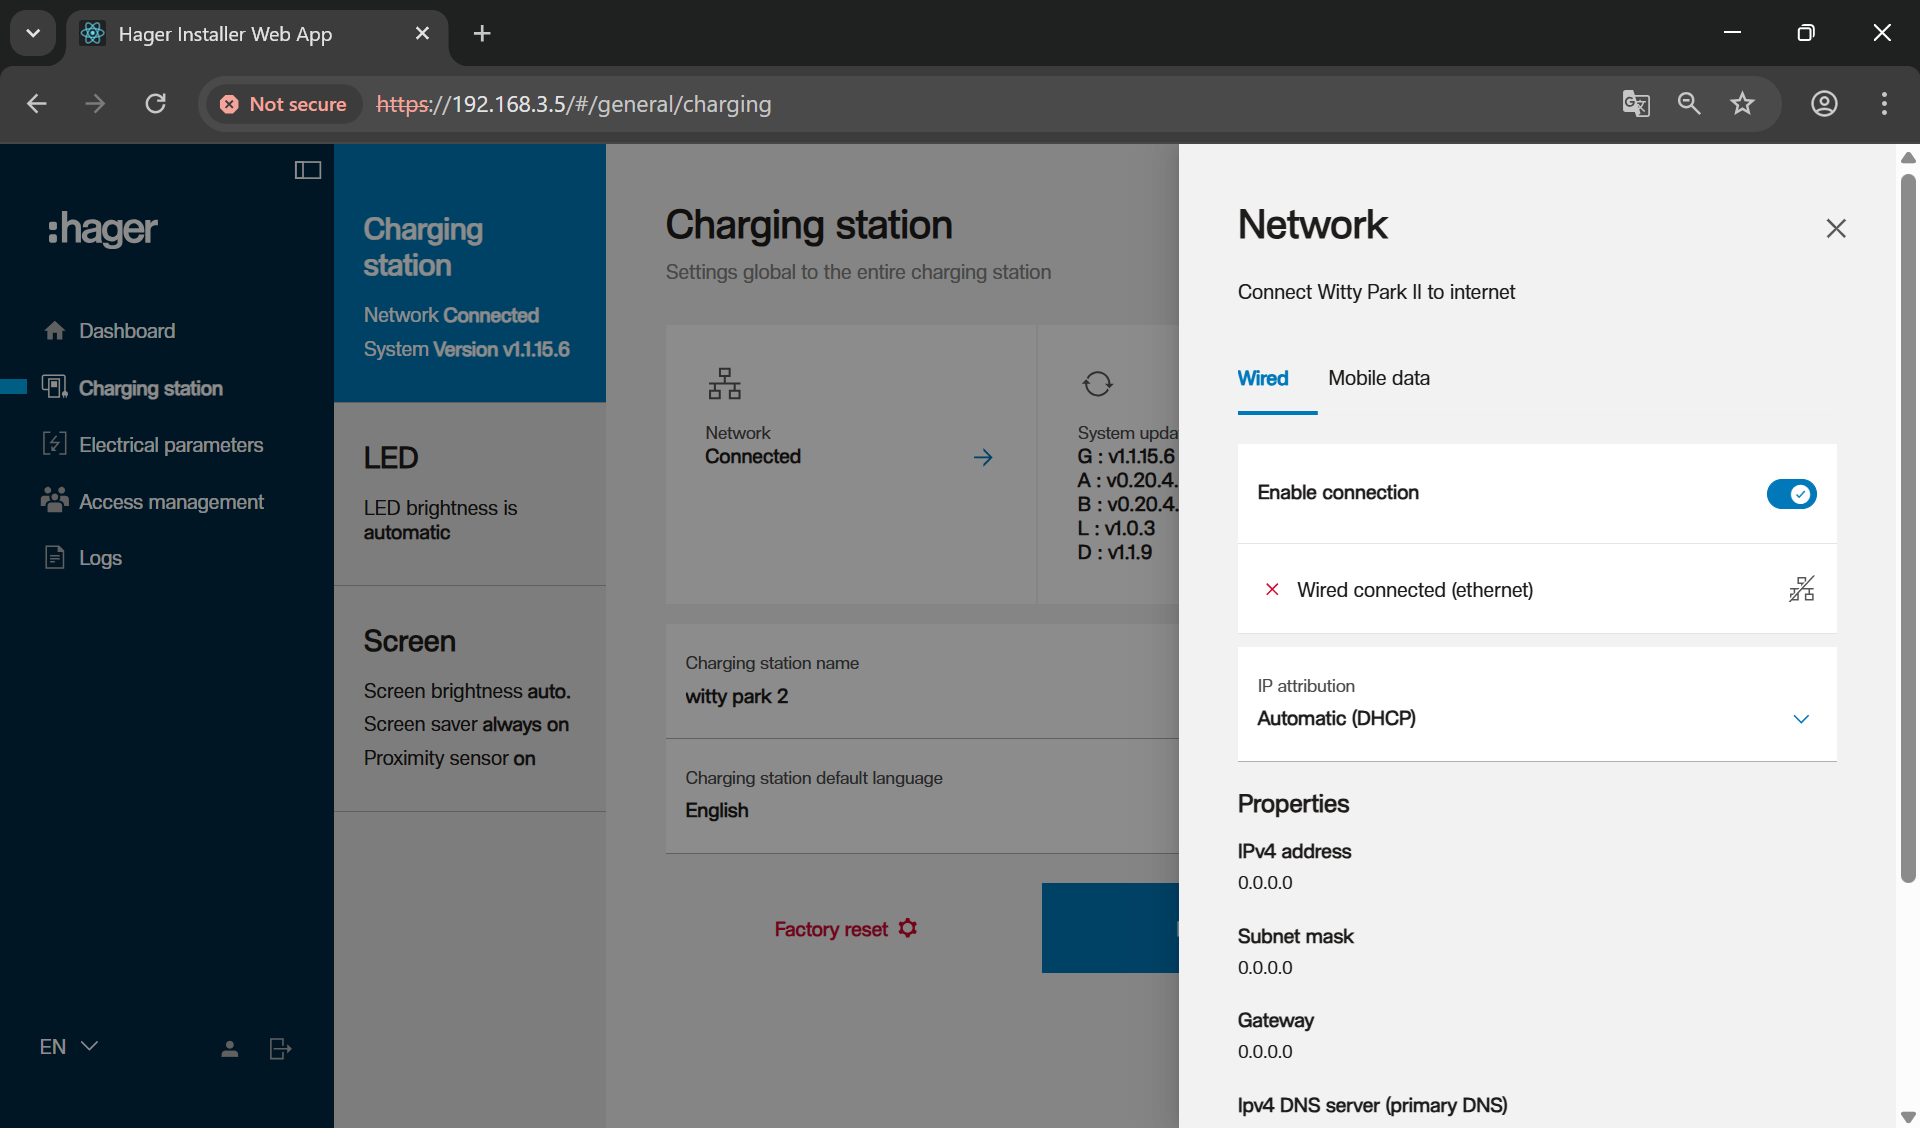
Network settings

Ethernet

  • Navigate to the Charging station tab

  • IP attribution: Automatic (DHCP)

  • Save the settings

OCPP settings

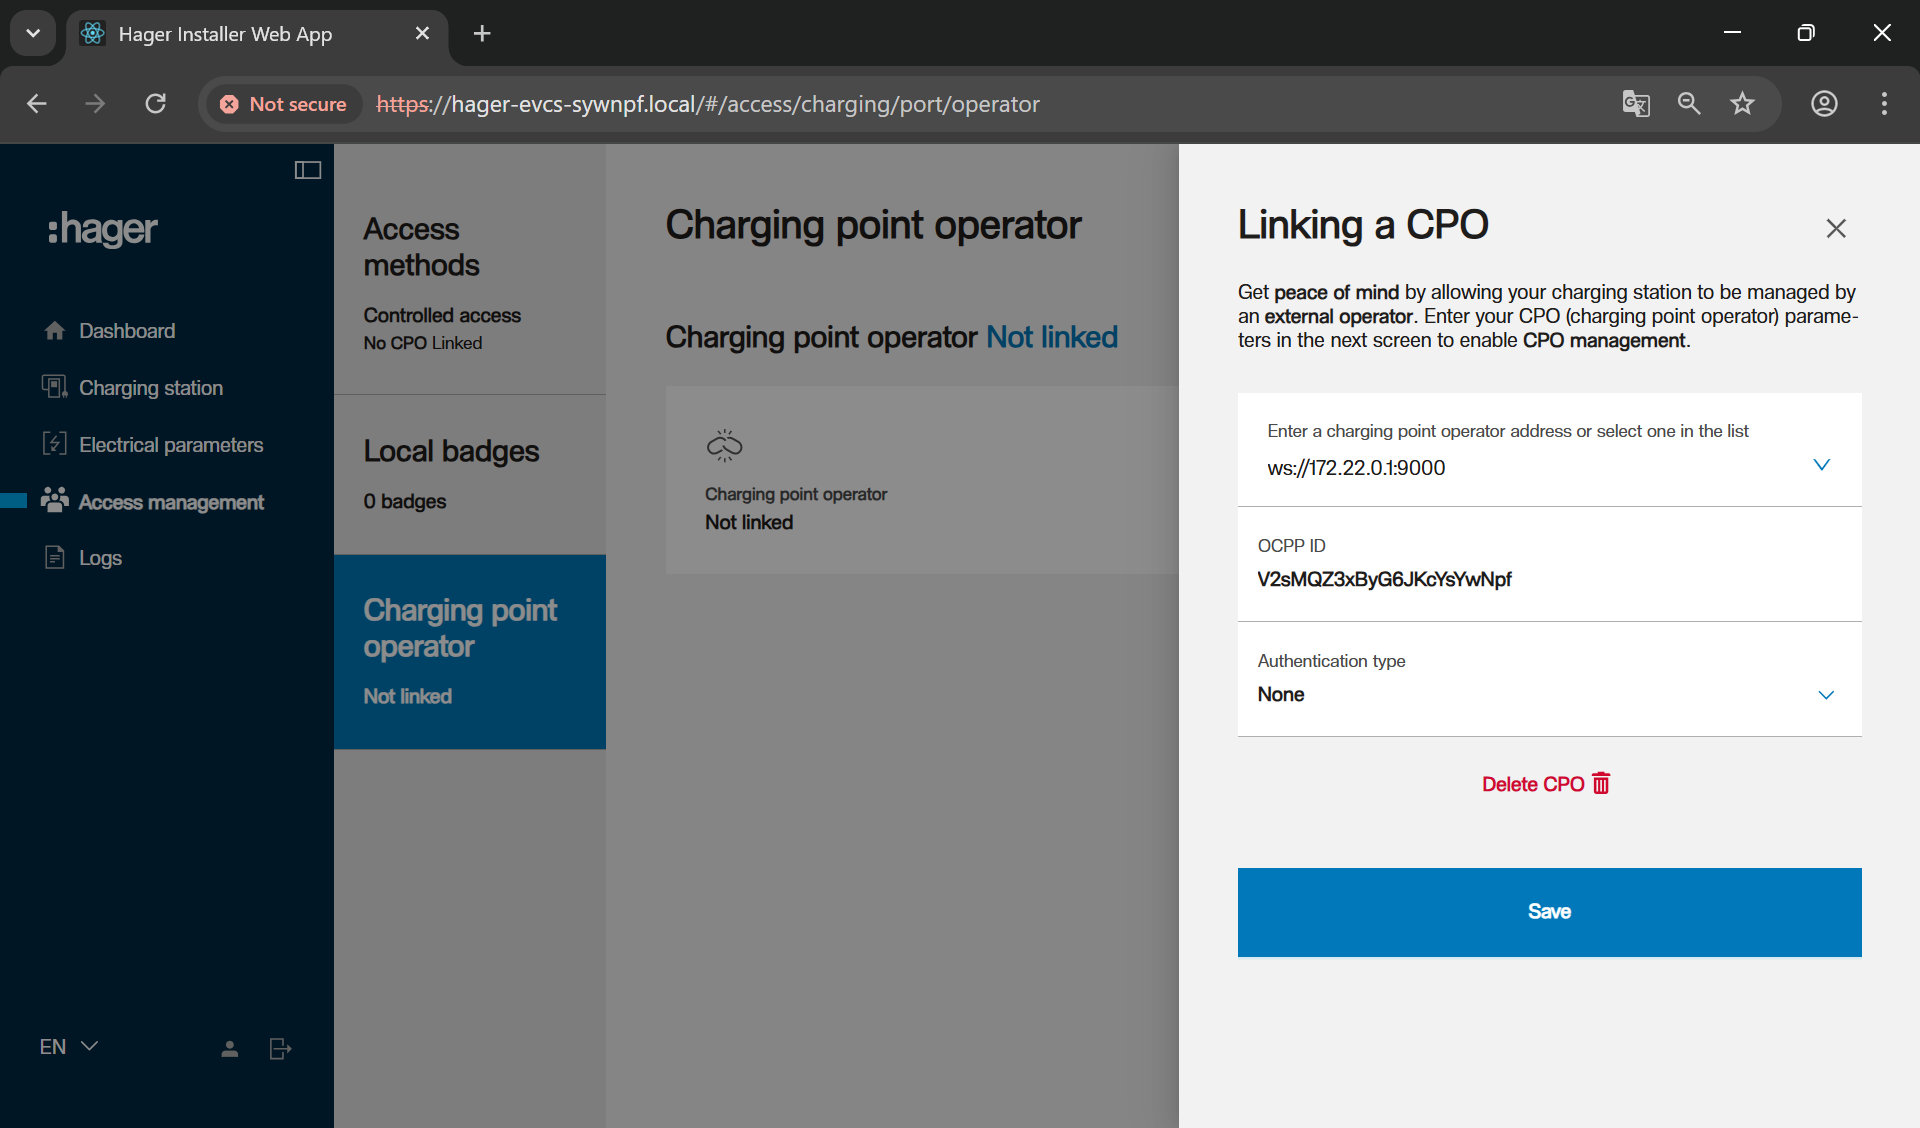
Navigate to the Access management → Charging point operator tab


Backend

  • OCPP Backend URL: ws://172.22.0.1:9000

  • Authentication type: None


ChargeBox ID

  • Serial number of the charger by default or according to the installation protocol

  • Save the settings. The Status will switch to “Charging point oprtator Linked” when the backend is connected successfully

Was this article helpful?

That’s Great!

Thank you for your feedback

Sorry! We couldn't be helpful

Thank you for your feedback

Let us know how can we improve this article!

Select at least one of the reasons

Feedback sent

We appreciate your effort and will try to fix the article